Creating a Virtual Lab with Digital Ocean (VPS)
From the day I started studying IT in the academy, virtual labs were something any teacher worth one’s salt recommended to students. Virtual labs are a place to grow and learn and practice IT skills. You can also use them in Cybersecurity. For example, I use them in my work to check malicious links and investigate phishing emails. I run Xubuntu 22.04 with VMware Workstation daily. Kali Linux as well.
VMware Workstation is one method of having a virtual lab on your physical machine. But you can do so much more. For example, you have an always-on, reachable virtual private server (VPS) from anywhere. One such company offering this is Digital Ocean.
In this how-to style of article, I will walk you through the steps of building your private virtual server. Before jumping into action, a quick definition of VPS from Wikipedia. A virtual private server (VPS) is a virtual machine sold as a service by an Internet hosting service. The virtual dedicated server (VDS) also has a similar meaning. So basically, your VPS becomes your virtual lab.
Why Digital Ocean? Offerings look attractive. I used them before a few times.
Registration
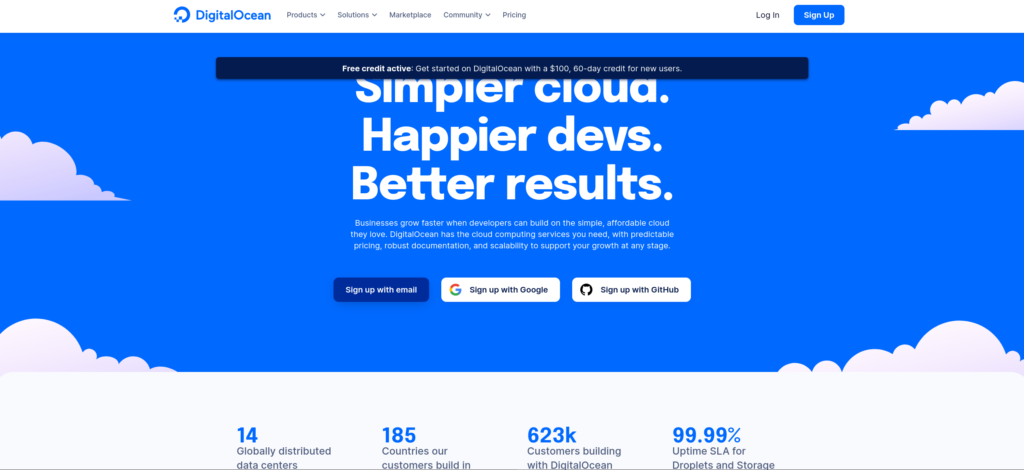
I snatched a link from Flavio Cope’s blog. It gives $100 credit to try Digital Ocean services. The coupon is valid for 60 days.
Sign up by your favorite method, and you are good to go.
Create a Project
Once you are signed up, it’s time to create a project. Give any name you want. Mine is called the first project.
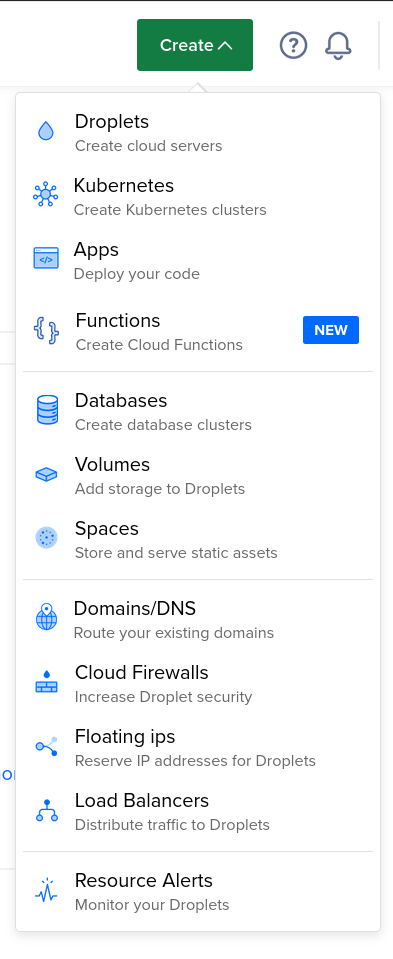
In the top right corner, there is a big green button. Click on it. A plethora of options is displayed to you. But, first, let’s create a droplet. A droplet is a cloud server or, in other terms, a virtual machine (VPS).
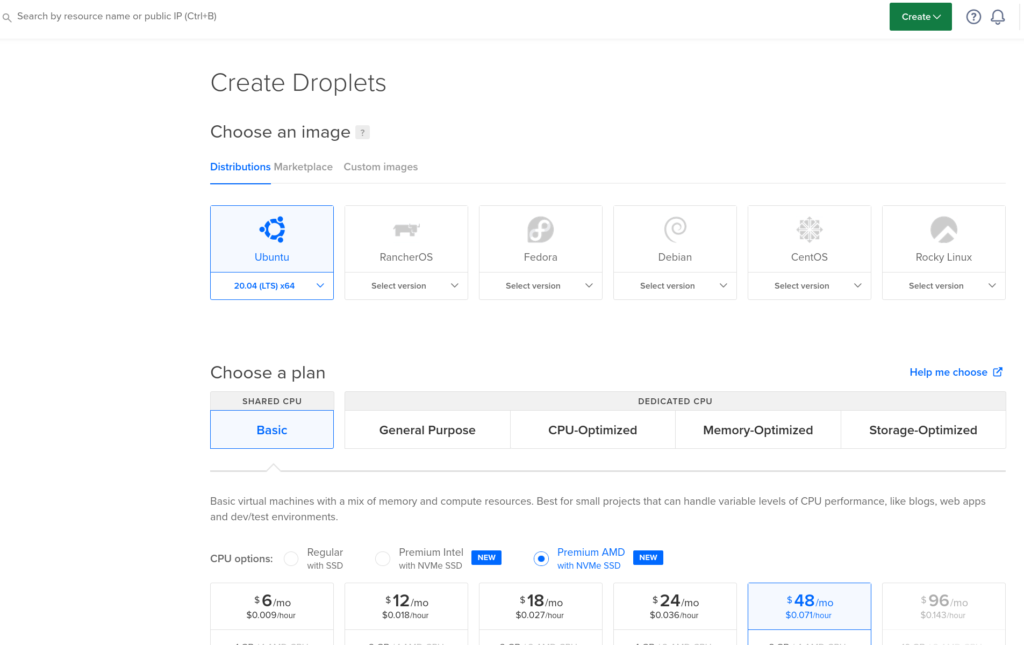
Configure a Droplet
A new page opens with lots of options. I usually start with Ubuntu 20.04 LTS, Shared CPU (Basic), Regular with SSD, and a preferred option. It’s always a good idea to host your machine in Europe. You get GDPR protection.
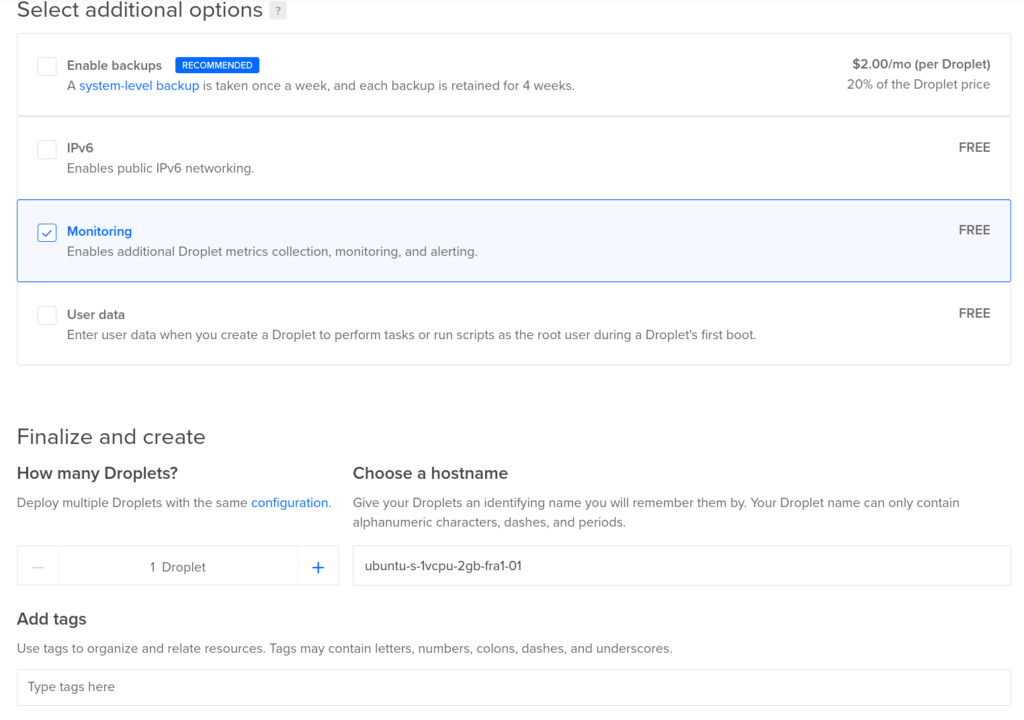
As for authentication, go for the more robust SSH option. Click the New SSH Key button. The pop-up guides how to create a key for yourself and connect it with a droplet. Add any additional options. I chose Monitoring. Give a meaningful hostname to the machine. Tag it if you want. Once you are done customizing the virtual server, click the Create Droplet button.
Access the Droplet
It takes a few minutes to spin up a droplet. Once it’s done, copy the IP address. Then, open your terminal and type ssh root@your-ip-address.
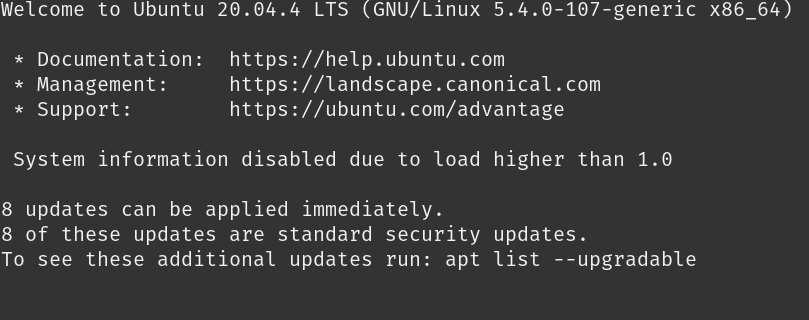
Congrats, you just accessed your virtual machine: Run apt-get update and apt-get upgrade.
What’s Next?
They say the sky is the limit. I suggest you learn Linux, explore the server, and play with commands. Just get familiar with it.
There is so much to do, but let’s talk about it next time!